Digital Micro Vickers Hardness Tester
Digital Micro Vickers Hardness Tester Specification
- Number of Specimens
- 1 at a time
- Hardness
- 1 3000 HV
- Operating Voltage
- 220V AC
- Display Type
- Digital LCD Display
- Interface Type
- USB, RS232
- Power Supply
- AC 220V 10%, 50/60Hz
- Test Range
- 5 g 2 kgf (test load)
- Response Time
- Instantaneous
- Humidity
- 85% RH
- Automation Grade
- Semi-automatic
- Temperature
- 10C 40C operating range
- Port Size
- Standard USB Port
- Mounting Type
- Benchtop
- Equipment Type
- Digital Micro Vickers Hardness Tester
- Features
- Digital control; Data storage; Touchscreen interface; Built-in printer; Wide test force range
- Application
- Microhardness measurement for metals and alloys
- Resolution
- 0.01 HV
- Accuracy
- 1.0%
- Max Height
- 60 mm
- Measuring Range
- 1 3000 HV
- Specimen Size
- Height 60 mm, Width 120 mm
- Frequency
- 50/60 Hz
- Usage
- Vickers and Knoop hardness testing
- Capacity
- 5 g to 2 kgf
- Machine Weight
- Approx. 40 kg
- Test Speed
- Controllable via software
- Test Width
- 120 mm (Max. sample width)
- Test Stroke
- 60 mm
- Control Mode
- Digital/Automatic
Digital Micro Vickers Hardness Tester Trade Information
- Payment Terms
- Cheque, Cash Advance (CA)
About Digital Micro Vickers Hardness Tester
Relying on our knowledge about this field, we are counted among the topmost suppliers of Digital Micro Vickers Hardness Tester. It is available for clients in a wide range of specifications and models to meet their individual requirements. Sourced from trusted vendor in market, this testing equipment is strictly inspected on standard quality parameters. Installed with the latest optical system, Digital Micro Vickers Hardness Tester is used for measuring the dimensions of indentation image.
Features:
- Sturdy design
- User friendly design
- High level of accuracy
Advanced Testing Versatility
This microhardness tester accommodates a wide measuring range (1-3000 HV) and uses both Vickers and Knoop methods, supporting diverse research and quality control applications. Coarse/fine focusing, digital controls, and variable test speeds ensure adaptability for different specimen requirements, with sample heights up to 60 mm and widths up to 120 mm.
Efficient Data Management
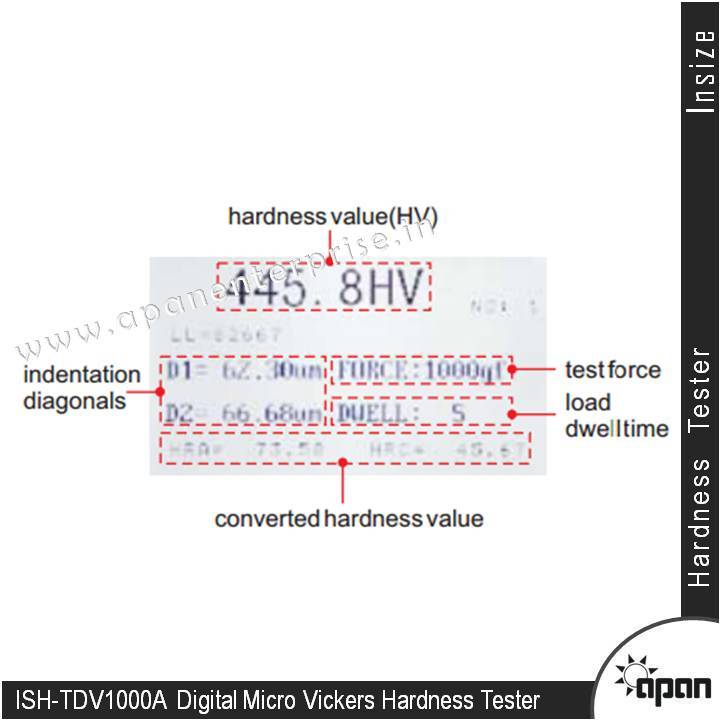
With its storage capacity of up to 500 results and options for direct PC export via USB or RS232 interfaces, users can efficiently record and analyze large volumes of measurement data. The built-in printer and multilingual touchscreen streamline reporting for labs and production environments alike.
FAQs of Digital Micro Vickers Hardness Tester:
Q: How does the Digital Micro Vickers Hardness Tester ensure accurate results?
A: The tester uses a precise Vickers diamond pyramid indenter and offers auto/manually calibrated measurements. Achieving 1.0% accuracy, it employs high-quality optics (10X and 40X lenses), a stable digital control system, and an instant LCD display for reliable results.Q: What are the steps for preparing and testing a specimen?
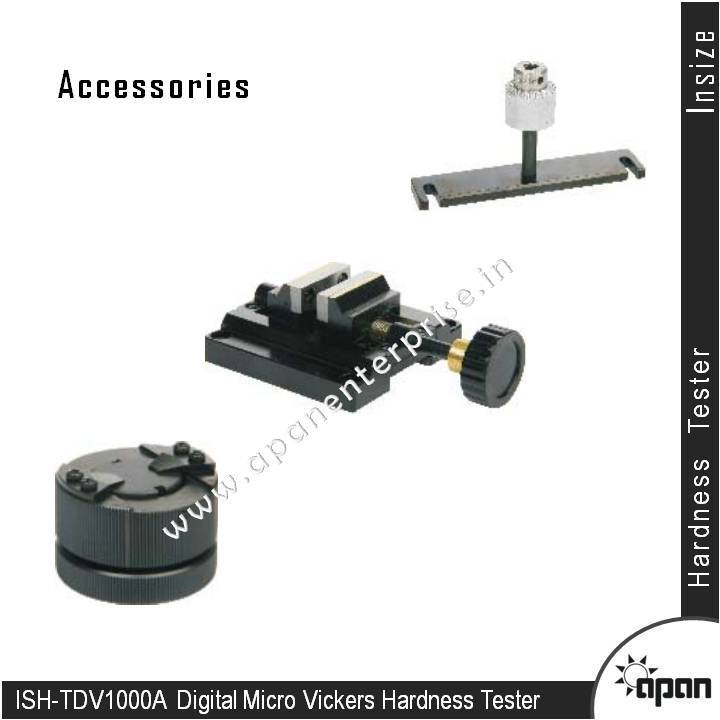
A: To test a specimen, place it on the benchtop mount ensuring it fits within the 60 mm height and 120 mm width limits. Select the appropriate test force (5 g 2 kgf) via software, focus the optics using coarse/fine adjustment, choose your method (Vickers/Knoop), and start the test. Results display instantly and can be exported or printed.Q: When should I use the Vickers versus the Knoop testing method?
A: Use Vickers testing for standard microhardness analysis of most metals and alloys. Select Knoop when testing thin, brittle, or layered materials, as it produces less penetration, minimizing damage and allowing for micro-area analysis.Q: Where can the data be exported to and how is it stored?
A: Measurement data can be directly exported to a connected PC via USB or RS232 ports, or printed using the built-in printer. The tester stores up to 500 results internally, enabling efficient tracking and backup until export.Q: What are the main benefits of using this digital microhardness tester?
A: Key benefits include high accuracy, fast response time, automated and manual calibration, wide test force and measurement range, multilingual support, digital storage and export functions, and comprehensive reportingall within a compact, benchtop design.Q: How does the adjustable LED illumination improve measurement quality?
A: The LED illumination with adjustable brightness ensures clear visibility of the indentation mark under the microscope, reducing reading errors and enhancing measurement precision, especially on challenging or reflective surfaces.Q: What is the operating environment required for this instrument?
A: The tester operates effectively at temperatures from 10C to 40C, with humidity levels 85% RH. Stable AC 220V, 50/60Hz power supply is required for optimal operation and measurement consistency.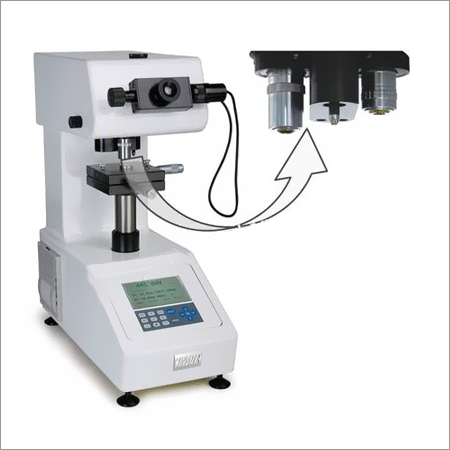

Price:
- 50
- 100
- 200
- 250
- 500
- 1000+
More Products in Material Testing Category
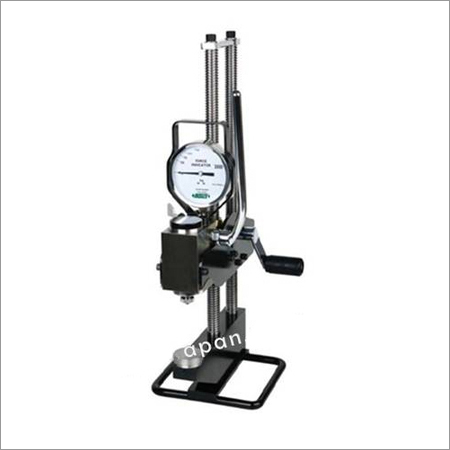
Hydraulic Brinell Hardness Tester
Display Type : Analog Dial/Scale
Interface Type : Manual, No Digital Interface
Number of Specimens : Single Specimen Test
Hardness : Brinell
Test Speed : Adjustable
Test Stroke : 100 mm
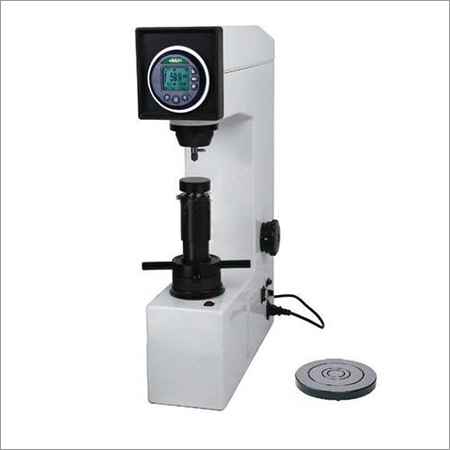
Automatic Digital Rockwell Hardness Tester
Display Type : Digital LCD
Interface Type : RS232
Number of Specimens : Multiple consecutive tests possible
Hardness : Rockwell (HRA, HRB, HRC)
Test Speed : 50~60 tests/hour
Test Stroke : 180 mm
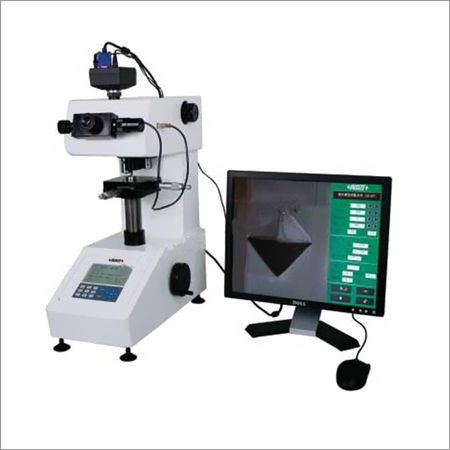
Vickers Hardness Measuring System
Display Type : Digital LCD Display
Interface Type : USB/RS232
Number of Specimens : Single Specimen
Hardness : Vickers (HV)
Test Speed : Adjustable
Test Stroke : Adjustable stroke
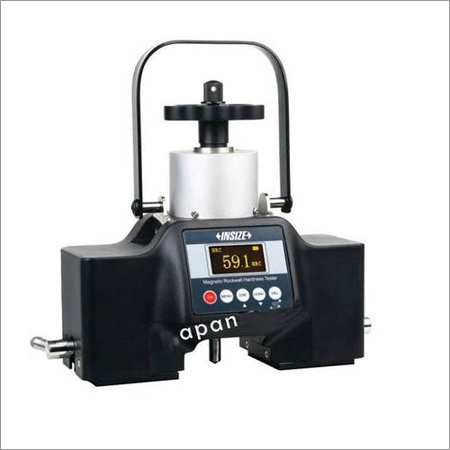
Digital Magnetic Rockwell Hardness Tester
Display Type : Large digital LCD
Interface Type : USB and RS232
Number of Specimens : 1 at a time
Hardness : Rockwell (HRC, HRB, etc.)
Test Speed : Adjustable, up to 2 mm/s
Test Stroke : 50 mm

 Send Inquiry
 Send Inquiry
